Why Clean Grooves Matter for Ball Flight and Spin
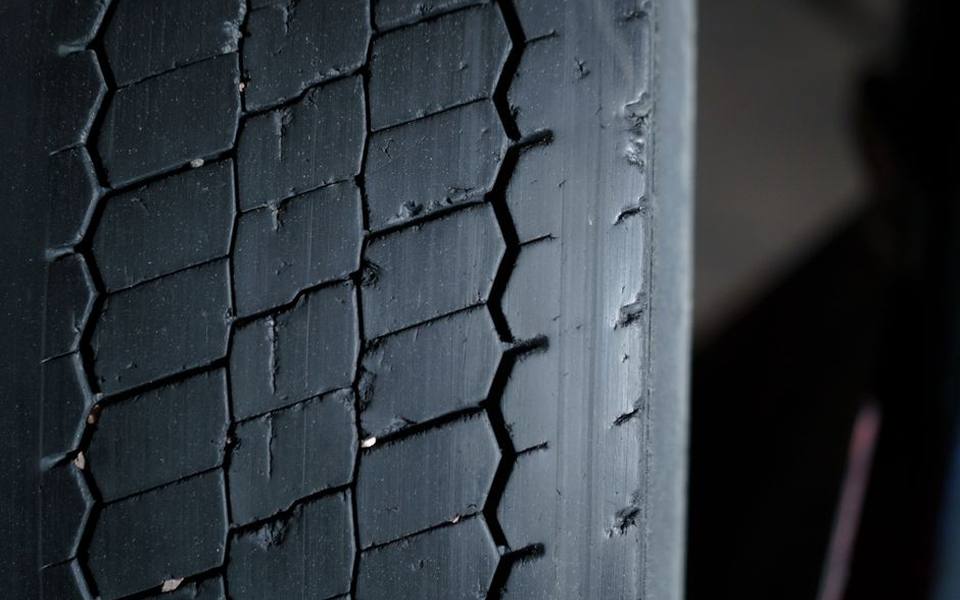
Keeping your irons and wedges clear of packed soil, sand, and grass is the single easiest way to maintain predictable ball flight. Grooves act like tread on a car tire, channeling away water, turf debris, and sand particles so the urethane cover of the golf ball can make direct friction contact with the flat face. When those micro-channels become caked with dried mud or grass juice, the ball skids up the clubface rather than biting into the metal, costing hundreds or even thousands of revolutions per minute in backspin.
Loss of spin does not just affect green-side stopping power; it alters your entire launch window. Without clean grooves, approach shots launch higher, drop out of the sky without holding their line against the wind, and frequently roll well past target yardages. Most golfers assume their swing mechanics suddenly failed when a shot flies ten yards over the green, yet in many cases, compacted sand from a practice swing or an uncleaned previous shot acted as a lubricant between ball and face.
Consistent launch angles and predictable spin rates demand unobstructed contact surfaces on every single strike. Whether you are playing a casual weekend round or practicing off turf at local facilities, establishing a fast, reliable routine to clean golf grooves between swings preserves the engineering designed into modern forged and cast clubheads. Routine maintenance takes only seconds, but it prevents the erratic launch numbers that baffle players trying to improve.
The Everyday Anatomy of a Golf Groove Cleaner
A standard club groove cleaner typically combines dual-sided brush heads with a hardened steel or plastic pick at the tip. Nylon bristles handle light dust and casual cleaning, while stiff brass or phosphor bronze bristles break apart hardened clay and dried dirt without scratching soft carbon steel heads. The pointy metal or rigid polymer prong is designed specifically to trace down the length of each individual horizontal channel, lifting compacted turf roots and grit that wire bristles cannot reach.

Choosing between pocket tools and bag-mounted options comes down to playing habits and convenience. Compact two-sided tools that fold like a pocketknife fit easily into a pocket, making them accessible before every shot. Meanwhile, retractable carabiner tools clipped to your golf bag stay out of the dirt but require you to step over to your bag after walking onto the green. Most experienced players keep a simple dual-bristle tool attached to their towel loop for immediate access between fairway strokes.
Material selection matters when buying any handheld golf groove cleaner. Brass bristles are generally considered the sweet spot for durability and softness, offering enough stiffness to clear baked dirt while remaining softer than the chrome or nickel plating on standard irons. Plain steel wire brushes, while common on cheap combination tools, can leave fine hairline scratches across polished finishes or strip the dark treatment off black oxide wedges if used with excessive muscle.
The Rise of Reservoir Brushes and Water Dispensing Cleaners
In recent seasons, water-dispensing scrubbers like the groove it golf brush have largely reshaped how players clean their irons on the course. Traditional wire brushes rely entirely on dry abrasion, which requires significant elbow grease and often just grinds hardened sand against the clubface. A reservoir brush integrates a refillable fluid chamber inside an ergonomic handle, allowing you to squirt a targeted burst of water directly onto the clubface before scrubbing with tough, synthetic nylon bristles.
The physics behind adding moisture to the equation makes intuitive sense. Water instantly hydrates dried clay and dissolves organic grass residue, letting stiff nylon bristles wipe the channels clear in two or three seconds without using harsh metals. Many players find that a grooveit golf brush or similar pump-action water scrubber cleans dirty wedges far more thoroughly than dry brushing, while eliminating the scratching risk inherent to metal wire picks on premium milled faces.
Most reservoir scrubbers feature heavy-duty magnetic docking bases that tether securely to the outside of your golf bag or cart frame. When you pull a wedge for a bunker shot, you can snap the brush off its magnet, squirt the face, wipe it with a microfiber towel, and click the tool right back into place without fussing with spring-loaded carabiners. Keeping the reservoir filled with ordinary tap water before you head out ensures you never have to spit on your clubface or search for a wet towel corner mid-round.
Step-by-Step Deep Cleaning at Home
While quick wipes keep your clubs functional during play, an occasional deep soak removes oil, microscopic mineral deposits, and fertilizer residue that accumulate in the scoring lines. To deep clean at home, fill a small bucket or wash basin with lukewarm water and a few drops of mild liquid dish soap. Avoid boiling or hot water, as high temperatures can soften the epoxy securing the clubhead to the shaft or cause the plastic decorative ferrule above the hosel to loosen and separate.
Submerge only the clubheads, keeping the water level just below the hosels and ferrules. Let the heads sit for five to ten minutes so the soapy water penetrates deep into dried mud crusts. Once soaked, scrub each face thoroughly with a stiff nylon bristle brush, paying close attention to the scoring lines near the sweet spot. Use a wooden toothpick or a dedicated plastic groove tool to scrape out stubborn residue, working from the hosel end toward the toe in steady passes.
Rinse each head thoroughly under cool running water to flush out loosened silt and soap film. Residual soap left inside the scoring lines can attract dirt during your next session, defeating the purpose of the cleaning. Immediately dry each club head thoroughly with a clean cotton or microfiber towel, ensuring water does not pool in the hosel cup, cavity back badging, or weight ports before storing the set back in your golf bag.
On-Course and Range Routine Between Shots
Developing a thirty-second groove maintenance habit between shots prevents dirt from baking onto the metal during a hot afternoon. The best routine starts the moment you finish taking a divot: wipe the clubface across a damp towel immediately while the grass sap and moisture are still soft. If packed dirt remains, run your brush or tee peg through the scoring lines, wipe the face dry, and return the club to your bag ready for the next hole.
Groove care is equally vital when practicing at outdoor golf driving ranges and practice facilities. Hitting dozens of balls off natural grass tees creates heavy turf buildup, and failing to clear the face between swings means you end up hitting balls with packed channels, creating unpredictable flight data. Taking five seconds to clean the strike zone every four or five swings ensures you are practicing with accurate ball contact rather than compounding mechanical errors caused by mud-induced flyers.
Weather also dictates your on-course cleaning strategy. In dry, dusty conditions, dry sand particles can get trapped in the channels and act like miniature ball bearings against the dimple pattern of the ball. On wet or dewy mornings, grass clippings turn into a fibrous paste that fills scoring lines almost instantly. Keeping one quadrant of your golf towel wet and the rest bone-dry lets you loosen debris first and dry the striking face completely before each swing.
Mats, Turf, and Unseen Buildup from Practice
Hitting off synthetic range mats presents a unique groove-clogging hazard that many players overlook. High-speed club impact causes synthetic turf fibers to melt under friction, leaving stubborn green or black polymer residue inside the scoring lines. Unlike outdoor soil, this melted plastic does not dissolve in cold water and can permanently alter the face texture if it is allowed to cool and bond to the metal surface over multiple sessions.
This synthetic buildup is particularly common when practicing at indoor golf & simulator bays or covered hitting stalls. If you notice shiny green streaks along the bottom two or three grooves of your wedges, standard nylon bristles alone may not lift the residue. A warm soapy wash combined with a firm brass brush or a plastic scraper will peel away the synthetic plastic without damaging the underlying chrome or raw finish.
Failing to remove artificial mat residue directly skews the numbers you see on launch screens. Whether you are dialing in your wedges on the course or testing distances with ranges with ball-tracking technology, synthetic film on the face causes ball slippage at impact. That friction loss reduces backspin numbers by several hundred RPMs, giving you false data regarding your true carry and rollout distances.
Sharpeners Versus Cleaners and Equipment Legality
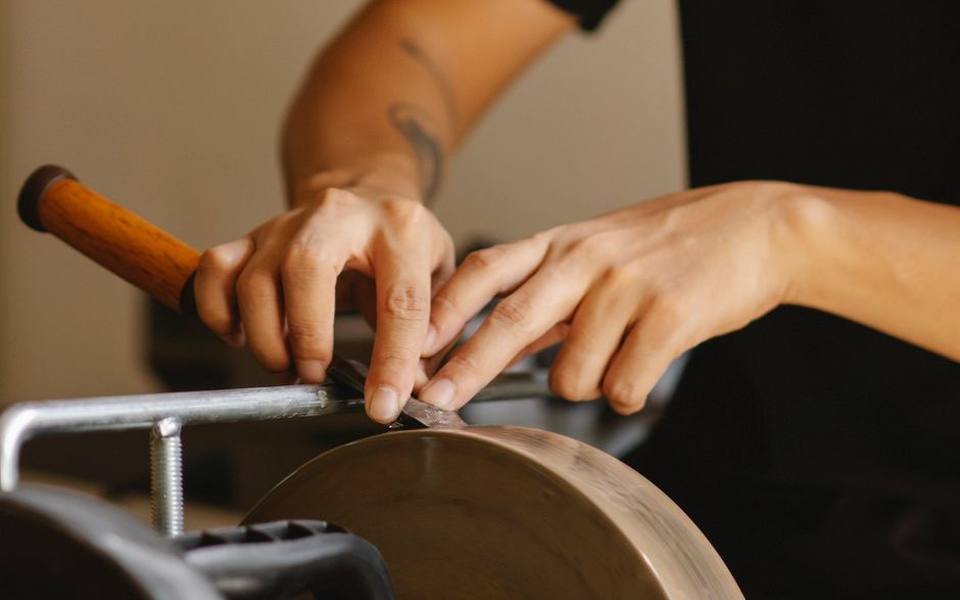
It is crucial to understand the distinct difference between a routine cleaning tool and a groove sharpening tool. A cleaner simply removes dirt, sand, and oxidized debris from existing channels without removing underlying metal. A groove sharpener, by contrast, uses a hardened carbide or tungsten cutting blade designed to cut away deformed metal edges, re-establishing sharp 90-degree corner radii and widening the channel walls.
While groove sharpeners can breathe temporary life into old, rounded-off wedges, they carry serious risks regarding equipment legality. The USGA and R&A maintain strict geometric rules regarding groove width, depth, spacing, and edge radius. An aggressive handheld sharpener can easily widen the channels beyond the legal limit of 0.035 inches or exceed the allowed cross-sectional area, instantly rendering your clubs non-conforming for sanctioned tournament play and handicap posting.
Beyond rules compliance, amateur sharpening often ruins clubface geometry. Handheld blades rarely cut evenly across the entire face, leaving wavy, uneven channels and burrs that tear into golf ball covers on every strike. If your wedge grooves are visibly worn smooth or rounded off from seasons of heavy play, replacing the wedge or having it evaluated during professional club fitting services is far more effective than trying to re-carve metal channels with an inexpensive handheld blade.
Proper Drying, Rust Prevention, and Storage
Cleaning your golf grooves is only half the maintenance equation; how you dry and store your clubs determines how long those scoring lines stay sharp. Trapped moisture inside your golf bag creates a humid microclimate that accelerates corrosion, especially along the sharp internal corners of scoring lines where water droplets cling by surface tension. Always wipe the face bone-dry before slipping the club into the bag divider.
Special attention is required if you play unplated raw or oil-can finish wedges. Raw wedges are specifically engineered to rust over time to create a glare-reducing, matte aesthetic preferred by many skilled players. However, deep pitting rust inside the groove channels can eventually degrade spin performance. After cleaning raw wedges, dry them thoroughly and apply a light wipe of baby oil or mineral oil with a rag to prevent destructive scale rust while preserving the natural surface patina.
Store your golf bag in a temperature-controlled space rather than in the trunk of your car or an unheated damp shed. Fluctuating trunk temperatures cause condensation to form inside headcovers and bag pockets, which attacks metal finishes and loosens ferrule epoxies. If you played through rain or cleaned your clubs in the evening, leave the clubs out of the bag on a dry towel overnight so airflow can completely evaporate lingering moisture from the cavities and hosels.
Pairing Groove Maintenance with Club Inspections
Cleaning your clubfaces provides the ideal opportunity to inspect your entire set for physical wear and structural integrity. As you work across each head, check the condition of the top line, inspect the leading edge for stone dings from fairway bunkers, and look closely at the ferrule to confirm it has not drifted upward away from the hosel, which can indicate that the epoxy bond is failing.
Look closely at the high-wear zone in the center of your short irons and wedges. Over hundreds of rounds, impact from sandy range balls creates a worn circular patch where the milling pattern is stripped away and the groove edges become dull. While you inspect your heads, it is also worth examining your grips for slickness, smooth thumb spots, or cracking, which makes routine maintenance the ideal time to consider golf club regripping to restore tackiness throughout the set.
Checking shaft straightness and looking for signs of bag wear is another simple step during routine cleanings. Graphite shafts can develop rub spots from bag dividers, while steel shafts can develop subtle pit rust spots beneath worn chrome. Spotting these small maintenance issues while cleaning your grooves ensures you catch minor equipment wear before it leads to a broken shaft or loose head mid-round.
Building a Simple, Long-Lasting Club Care Kit
You do not need an expensive or elaborate workshop setup to keep your clubs in peak playable condition. A minimalist on-course kit requires only two essential items: a premium waffle-weave microfiber towel clipped to your bag ring and a reliable club cleaner—either a reservoir water brush or a durable dual-bristle tool with a brass side and a pocket pick. These two tools address ninety-five percent of turf debris immediately after impact.
For your garage or home setup, assemble a small maintenance caddy containing a non-abrasive dish soap, an old soft-bristled toothbrush for delicate cavity badging, a brass bristle hand brush, and a pack of wooden golf tees or toothpicks for clearing stubborn silt. Keep a small bottle of mineral oil on hand if you play raw wedges, along with a clean shop rag dedicated solely to drying clubheads after wet practice sessions.
Taking pride in equipment upkeep quickly translates to confidence on the course. Stepping up to an approach shot knowing that your scoring lines are clear of dirt, dry, and ready to grab the ball gives you the assurance needed to commit to your swing. Simple tools, used consistently for thirty seconds after every round, keep your clubs performing exactly as the manufacturer engineered them for seasons to come.
Published 2026-09-21 · reviewed with each rebuild, last September 2026.
Find driving ranges near you
The directory lists 3,693 driving ranges by state and city — pick your state or use the “Near me” button in the header.
More guides
-
 Buying
Realistic Costs and Equipment Needed for a Home Golf Simulator
-
 Service
Golf Club Maintenance: Regripping and Reshafting Guide
-
 Money
MoneyGolf Lessons Cost and Beginner Guide: What to Expect and How to Budget
-
 Buying
Golf Club Fitting Cost and Selection Guide
-
 Buying
A Practical Guide to Buying, Selling, and Trading In Used Golf Clubs
-
 Money
MoneyDriving Range Costs, Practice Routines, and Range Etiquette
-
 Service
Fixing Topped Shots and Improving Ball Striking on the Range
-
 Buying
Best Golf Launch Monitors Buying Guide: Space, Tech, and Budget
-
 Buying
The Complete Guide to Buying Used Golf Clubs and Pre-Owned Equipment
-
 Buying
How to Choose the Best Local Golf Shop and Pro Shop Services
-
 Owning
Miniature Golf and Putt-Putt Guide: Rules, Courses, and Family Fun
-
 Service
Complete Guide to Custom Golf Fitting and Shaft Selection
-
 Buying
Complete Guide to Buying and Maintaining Golf Shoes and Cleats
-
 Owning
Designing and Installing Indoor and Backyard Putting Greens
-
 Service
Golf Swing Analytics, Speed Training, and Shot Tracking Systems
-
 Buying
Golf Practice Nets, Driving Mats, and Backyard Hitting Setups
-
 Buying
How to Buy Used Golf Clubs and Get the Best Demo Day Deals
-
 Owning
Custom Golf Gear Personalization: Stampers, Bags, and Embroidery
-
 Buying
Selecting and Setting Up Home Golf Simulators and Launch Monitors
-
 Service
Choosing Golf Academies, Lessons, and Coaching Programs
-
 Buying
Custom Golf Club Fitting: Shafts, Clubheads, and Specifications
-
 Service
Entertainment Driving Ranges: Planning Group Outings, Corporate Events, and Bachelor Parties
-
 Service
Mini Golf, Footgolf, and Indoor Golf: Complete Venue Guide and Directory
-
 Owning
Tournaments, Scoring Tech, and Gear Upkeep: The Modern Golfer's Guide
-
 Buying
Golf Equipment and Club Fitting Guide: Starter Sets, Drivers, and Custom Builds
-
 Buying
Finding the Right Golf Pro Shop and Equipment Retailer
-
 Owning
Designing and Hosting Mini Golf Events: Indoor Party Venues and Practice Games
-
 Buying
Indoor Golf Practice and Launch Monitors: How to Build Your Studio
-
 Buying
Golf Laser Rangefinders Buyer's Guide: Features, Accuracy, and Value
-
 Buying
Commercial Golf Green Mowers: Maintenance, Selection, and Buying Guide
-
 Owning
Best Mobile Golf Simulators and Games for Practice and Play
-
 Owning
Fixing Heavy Contact, Managing Distance, and Choosing Cold-Weather Gear
-
 Buying
Club Car Golf Carts: The Practical Guide to Buying, Inspecting, and Customizing
-
 Owning
Complete Guide to Putt-Putt Games: History, Titles, Platforms, and Walkthroughs
-
 Service
Top Sports Bars and Lounges: How to Pick the Best Game-Day Spots in NYC and Florida
-
 Safety
24-Hour Gun and Shooting Ranges: Availability, Rules, and Finding Round-the-Clock Facilities
-
 Owning
Golf Green Mobile Estates: Guide to Golf Community Living and Amenities